| |
|
Frequent Asked Question - Port Klang*Net Smart Client
|
How To Attach PKNet Database To Existing SQL Server
Objective:
- This guide will show on how to attach PKNet database for company who is already have SQL Server on their Server @ Main PC
- Suitable for company who want to use LAN Version of PKNet System ( all clients will use 1 database only so all clients can view same jobs, responses, etc regardless who key in the data)
Please follow below steps :
1. Download the Installer
- Login to Port Klang*Net Web (http://www.my1port.com) using admin account
- Click on Menu –> Maintenance –> License & Installer –> Software Installer –> Click PKNet FA Installer (for FA) to download
- Once downloaded, Run the Installer (1_PKNet_FA_Installer.exe)
- Once the Installation complete, you can see PKNet databases will be created under this folder C:\Program Files\Rank Alpha Technologies\Database
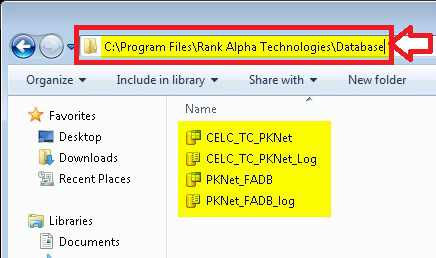
- Please remember the database path, as it will be use on next steps
2. Attach PKNet Database
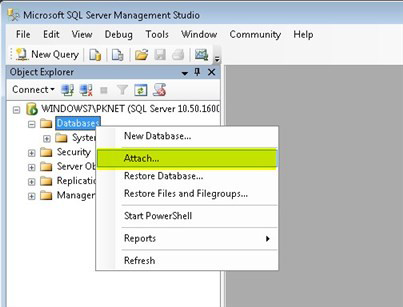
- Open SQL Management Studio and connect to your SQL Server
- Right click on Database and click Attach
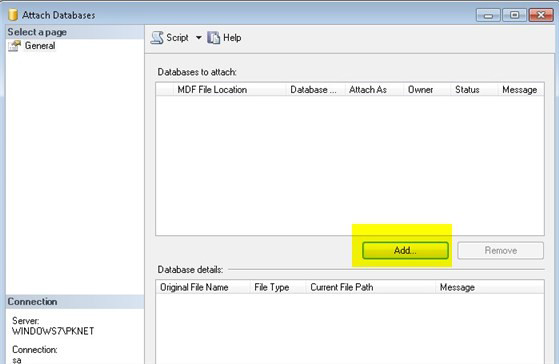
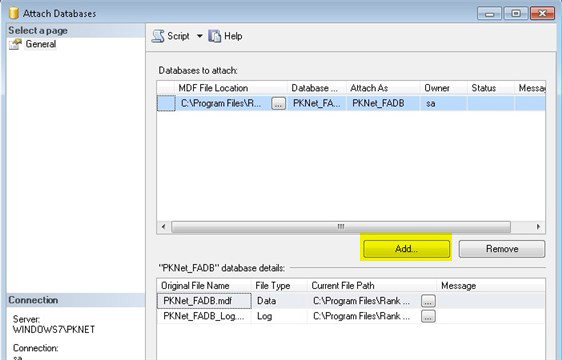
- New window will popup, click Add
- Search the database under C:\Program Files\Rank Alpha Technologies\Database, select PKNet_FADB.mdf and click OK
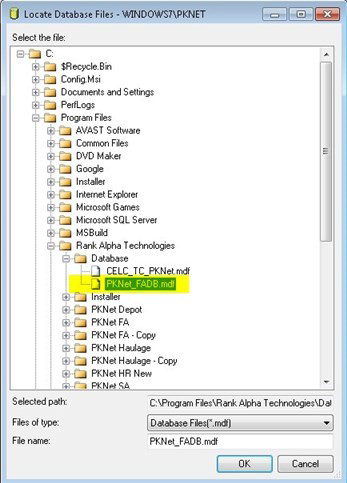
- Click Add again, and this time select CELC_TC_PKNet.mdf and click OK
- You can now see those 2 database are ready to be attach
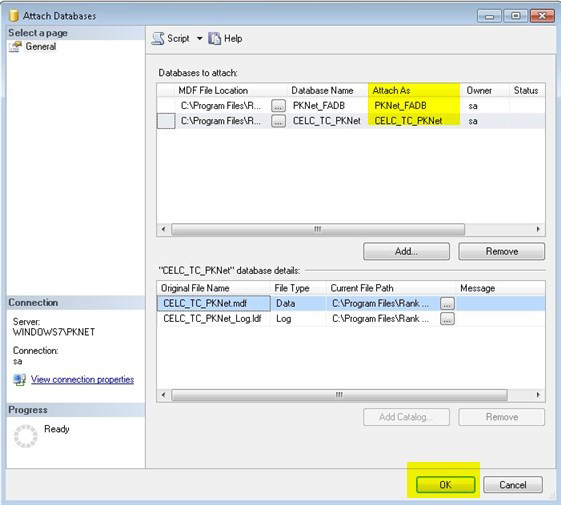
- Click OK to start attach the database
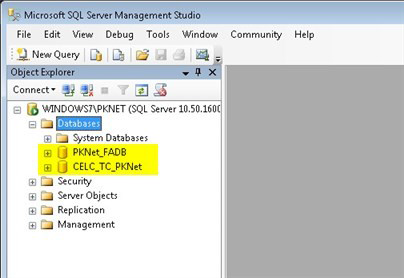
- When the process completed, you can see those 2 database already listed under your SQL Databases and your PKNet database has been attach successfully
3. Setup Configuration Files on Client PC
- This step is to make sure your client can connect to your PKNet database
- On client PC, run again the Installer you downloaded from My1Port (1_PKNet_FA_Installer.exe)
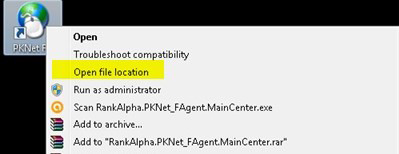
- Once done, you can see this PKNet FA shortcut created on your desktop
- Right click the shortcut and click Open File Location, it will open new window
- Or you can simply browse to C:\Program Files\Rank Alpha Technologies\PKNet FA
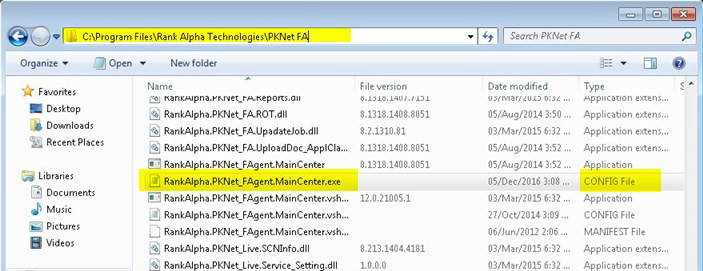
- Find a file name RankAlpha.PKNet_FAgent.MainCenter.exe and double click to open/edit it (make sure the file type is CONFIG File)
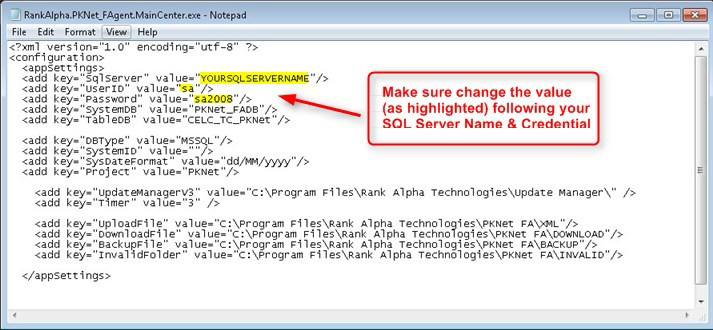
- Change the SqlServer / UserID / Password value following your SQL Server Name & Credentials (refer to above picture)
- Once done, you can double click on the PKNet Icon on your desktop and it can be open successfully now
- For enquiries, kindly call Rank Alpha Technologies office – 03-80738488